

Self-Host Your Own Web Analytics With Umami on Gozunga Cloud
A guide for self-hosting the popular open-source web analytics tool Umami using Coolify, hosted on Gozunga Cloud
Take control of your own web analytics by hosting the open-source Umami software on Gozunga Cloud. Follow these instructions to get started.
- Coolify Project Setup
- Secure your Umami Instance
- Setting up Umami Websites
- Next Steps and More Information
BEFORE YOU CONTINUE
Before proceeding, make sure you have a Coolify server set up. Check out our related guide on creating a Coolify server with Gozunga Cloud. View Related Article
1. Coolify Project Setup
First we create a new Coolify project to house our apps
- From the Projects screen, click Add and then choose a name for your project, ex. Web Statistics
- From the Resources screen, click New then select the Git → Public Repository item,
- Enter the Umami Git repository URL in the field – https://github.com/umami-software/umami.git then click Check Repository
- Change the Build Pack to Docker Compose, then change the Docker Compose Location to : /docker-compose.yml
- Click into the Git Source tab, and change the branch to master, then click Save and return to the General tab
- You will see a message about Please load a Compose file. Scroll down to choose Reload Compose File
- In the Domains for Umami field, enter your public web address such as https://umami.coolify.mydomain.com:3000, then click Save
Note: Port 3000 specifies the internal port used within Coolify, and you will not be required to use that port when accessing the service remotely in later steps.
- Click Deploy
2. Secure your Umami Instance
After installation, it is necessary to perform the initial configuration for Umami to change the default insecure credentials.
- Head over to the URL you assigned in the last step, https://umami.coolify.mydomain.com and login with the username 'admin' and password 'umami'
- Click on Settings → Team, then edit the 'admin' user.
- Change the Username and Password to your liking, then click Save.
3. Setting up Umami Websites
Add your websites to the Umami system so they can receive statistics.
- From the Settings menu, select Websites, then + Add website
- Choose a display name, and then enter the domain name of your website (e.g. mydomain.com)
- Click the Edit button for your new site and go to Tracking
- Copy the supplied tracking code to place in your website code.
For Example:
<script async defer src="https://umami.coolify.mydomain.com/umami.js"></script>
4. Next Steps and More Information
After setting up Umami, you can:
- Track multiple websites from a single dashboard
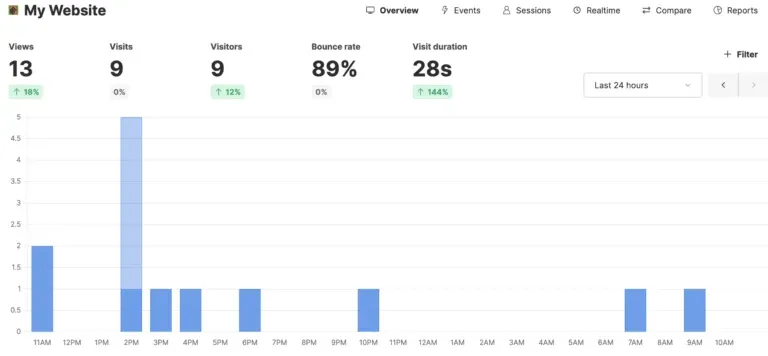
- View real-time analytics data
- Export reports and data
- Customize tracking events
- Set up privacy-compliant analytics
For more information about Umami features and capabilities, visit the official Umami documentation.
Ready to deploy? Get $100 in free credits and start hosting your applications on Gozunga Cloud today!